A laboratory fume hood is an essential component of any research or educational facility where hazardous or sensitive materials are handled. Its primary function is to protect the user and the environment from potentially harmful fumes, dust, and vapors. The installation of a fume hood is a critical activity to ensure its optimal functionality and safety. This comprehensive guide is designed for facility managers, contractors, lab technicians, and anyone involved in the process of installing a laboratory fume hood.
Overview
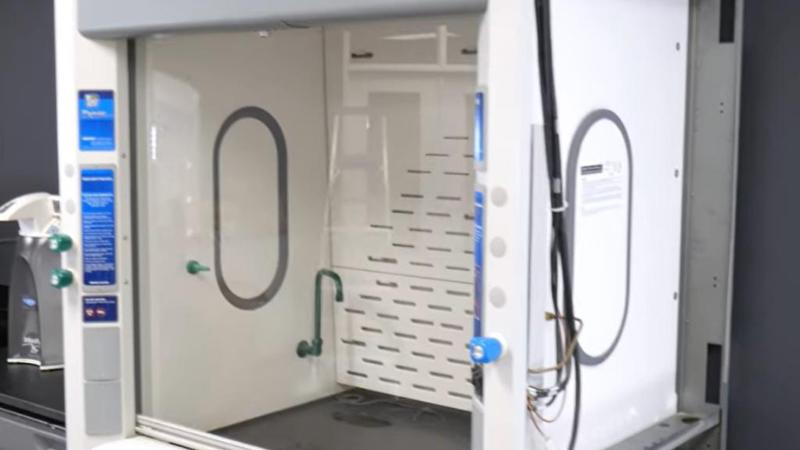
This video outlines the step-by-step process for installing a Labconco Protector Extreme fume hood on top of Protector storage cabinets and the standard molded epoxy work surface. Although this guide focuses on the Protector Extreme model, the installation procedures for most ducted models will be quite similar.
Always refer to the specific instruction manual of your model for any special recommendations.
Pre-Installation Preparation
Site Survey
- Conduct a thorough survey of the installation site to determine the necessary preparations. Factors to consider include utility connections, ventilation, lighting, and any potential obstructions.
Clearance and Permitting
- Make sure you have the necessary clearances and permits in place before beginning the installation. This may include obtaining permission from the appropriate regulatory bodies and ensuring compliance with building codes.
Tools and Preparation
Ensure you have a level, screw gun, screwdriver, and a 5/16 in nut driver at hand.
Confirm that there is ductwork leading from the hood to the outside, with an appropriately placed blower, either remotely located or built into the hood.
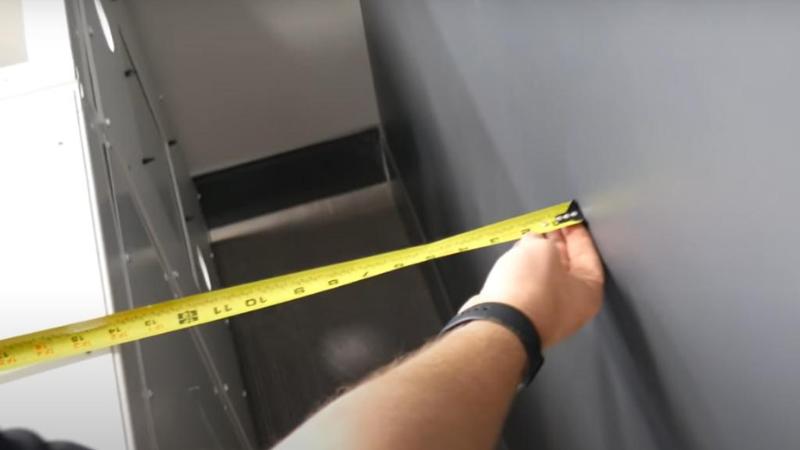
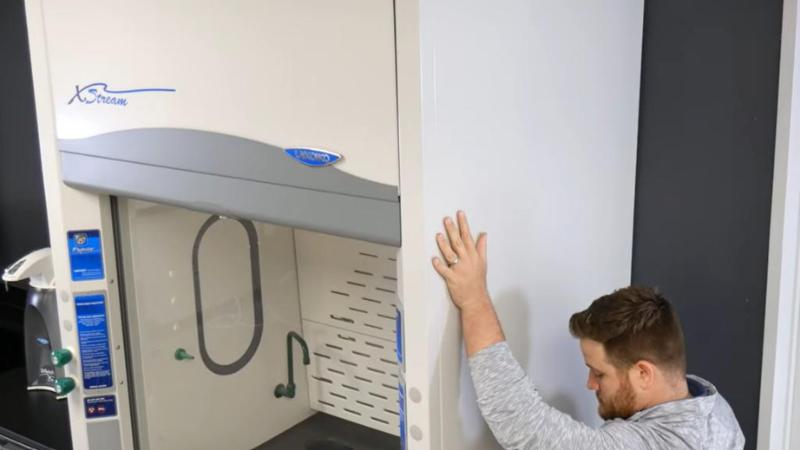
Before fume hood and cabinet are in permanent positions ensure there is enough clearance between the base cabinet and wall for your specific mode.

Installation Steps
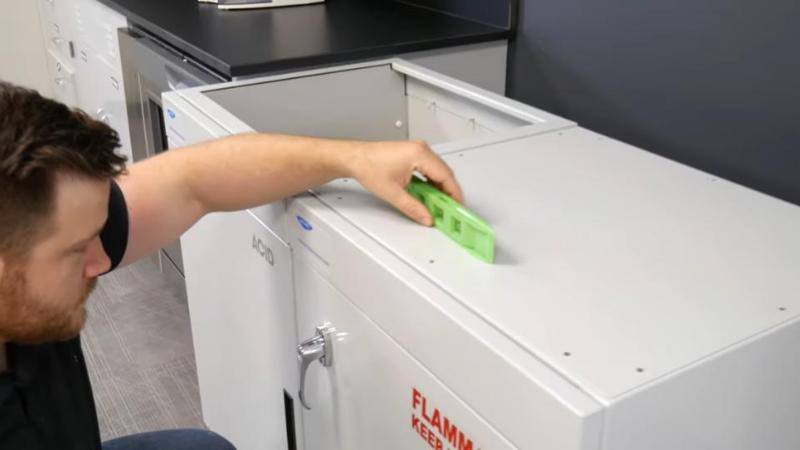
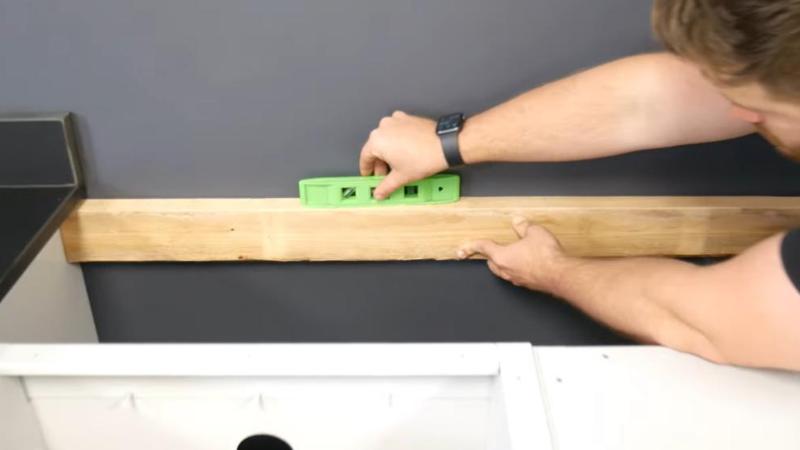
1. Leveling the Base Cabinet
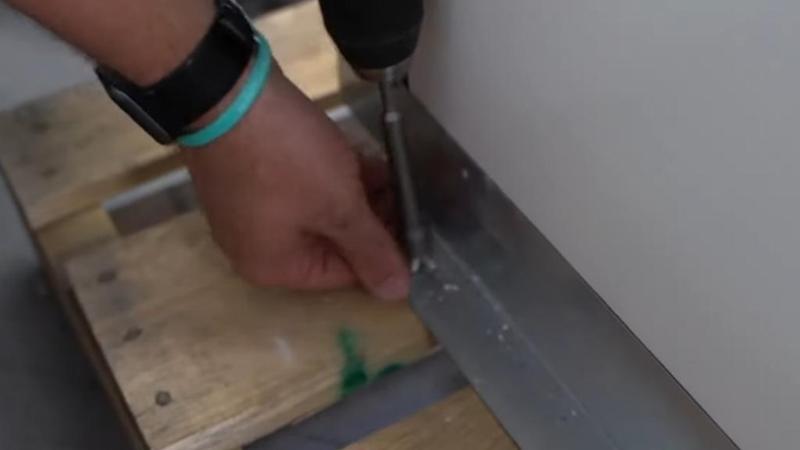
Use a level to check the base cabinet’s alignment front, sides, and back. Adjust its bottom leveling feet with a wrench to ensure the top of the cabinet is at the correct height. A horizontal 2×4 may be attached to the wall for added support of the epoxy countertop and the rear of your fume hood.

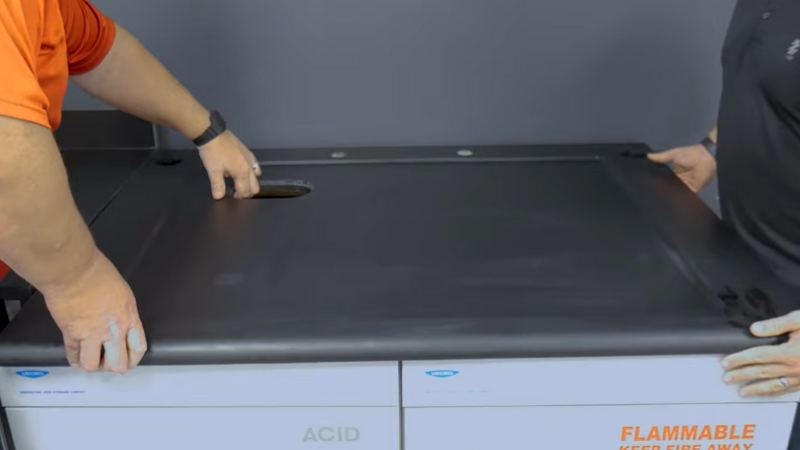
2. Setting the Work Surface
Place the epoxy work surface on the base cabinet, aligning its front edge. Optionally, you may seal the work surface to the base cabinet by applying a bead of RTV sealant to the cabinet prior to setting the countertop.
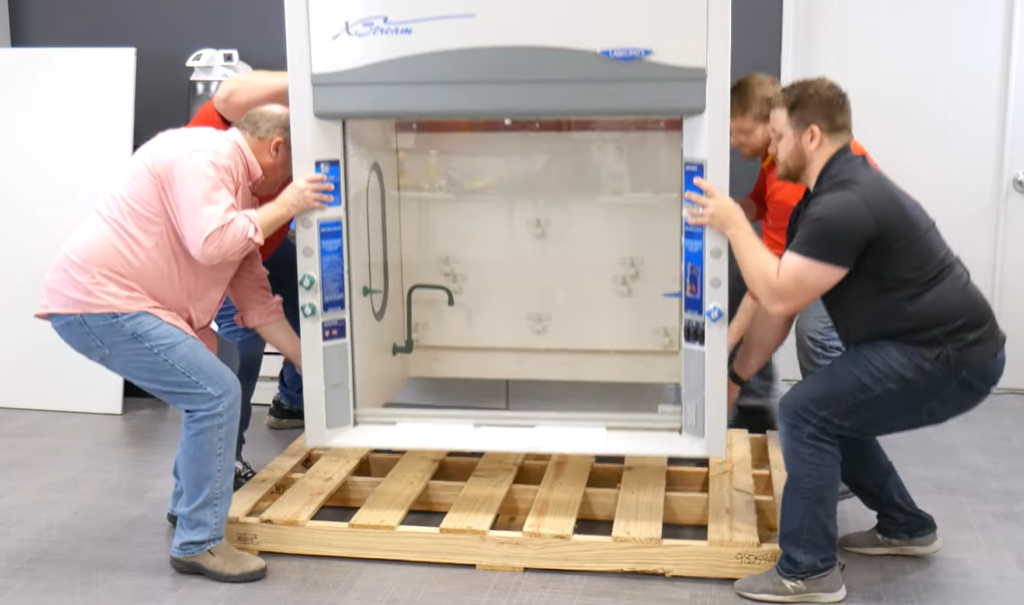
3. Unpacking the Fume Hood
Keep the hood attached to its shipping skid until positioning it near the final location. Inspect the package upon arrival for any transportation damage, reporting any issues to the carrier.
4. Assembly
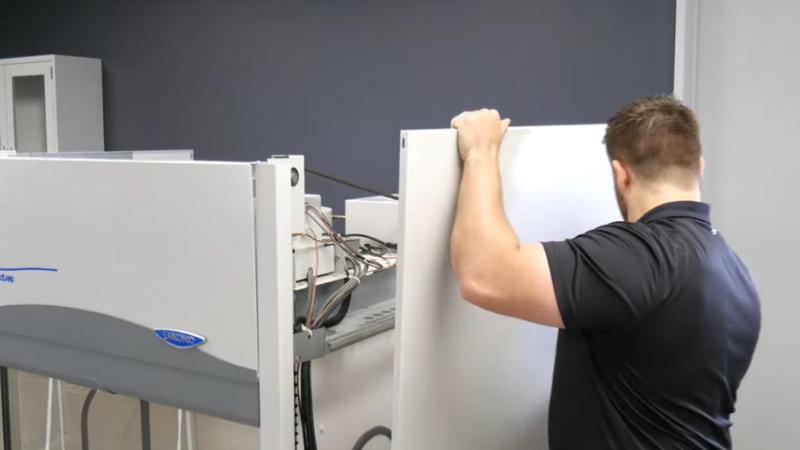
A. After unpacking, remove both side panels with a screwdriver and set them aside for later.
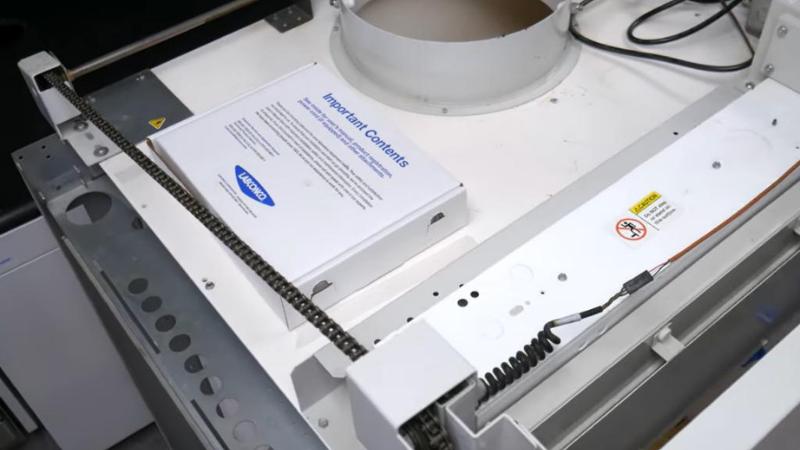
B. A box of accessories and the user manual can be found on the roof of the fume hood.
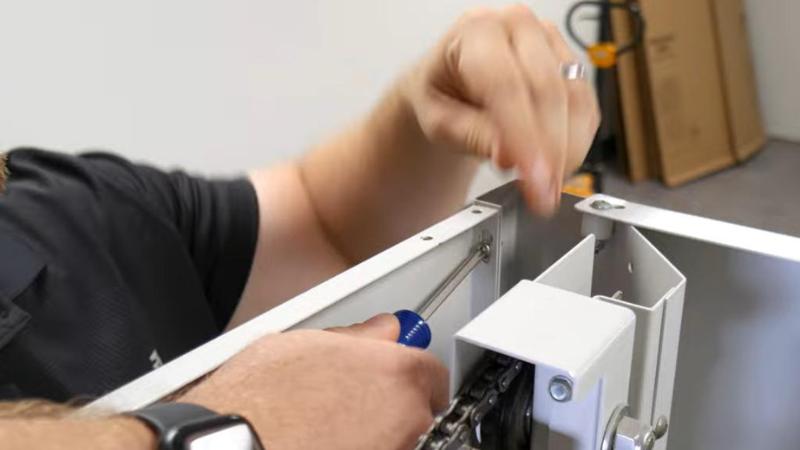
C. Now remove the 4 bolts that secure the fume hood to the skid.
D. The sash weight has been secured to the back of the hood to prevent damage with shipping. Remove these 4 screws and make sure the sash system is secured
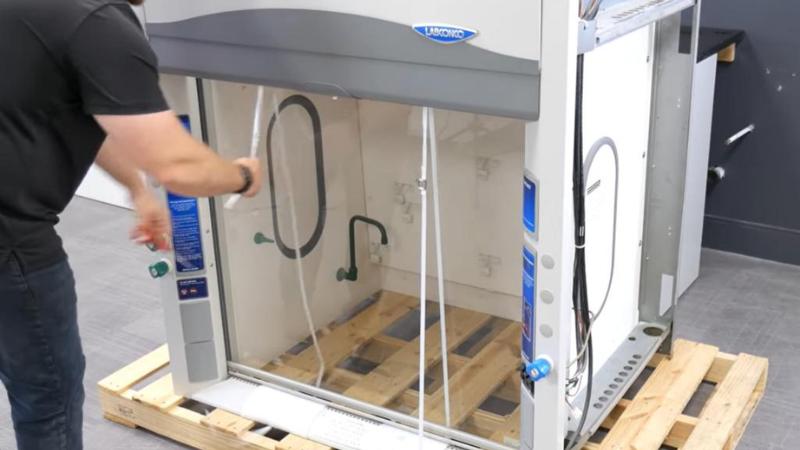
E. Cut the two plastic front straps that are holding it in the closed position and and raise/lower the sash to make sure it has a smooth operation
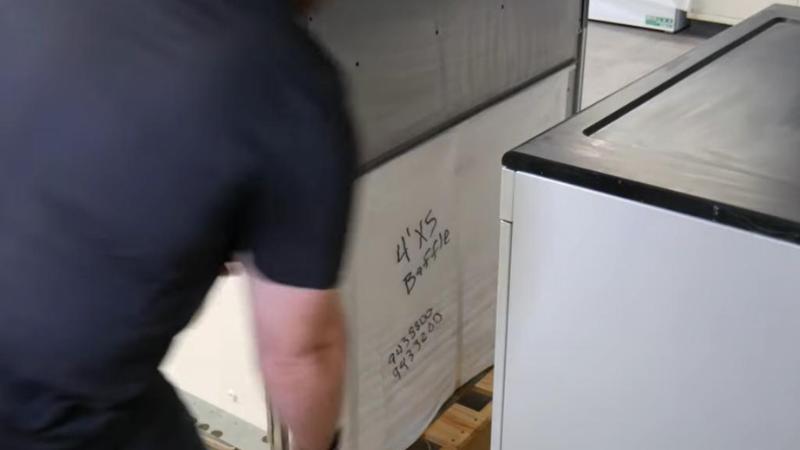
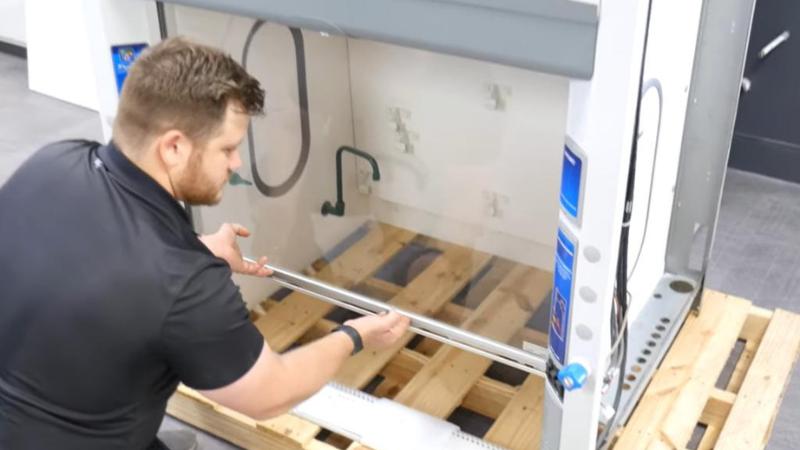
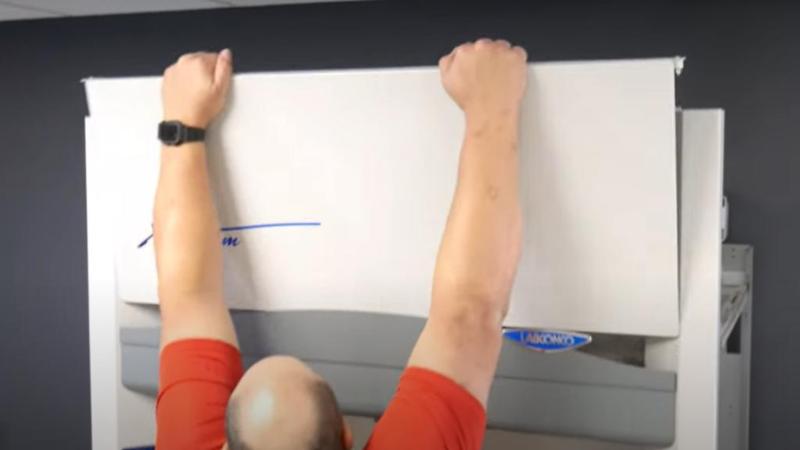
F. Remove the baffles from behind the hood (note: some models don’t have baffles)
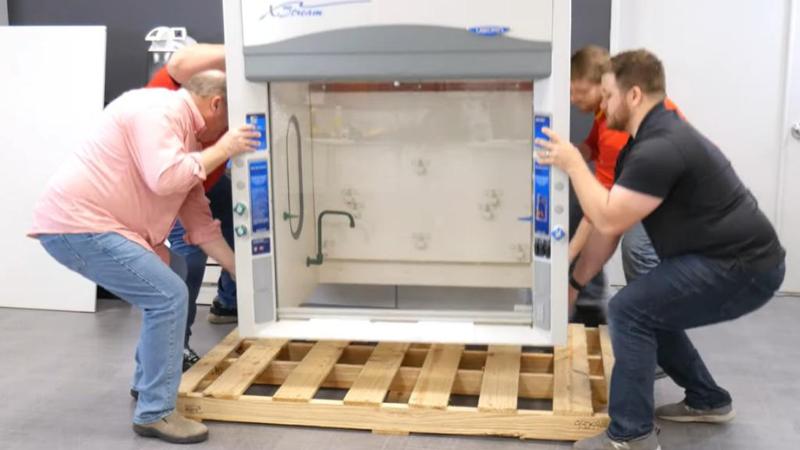
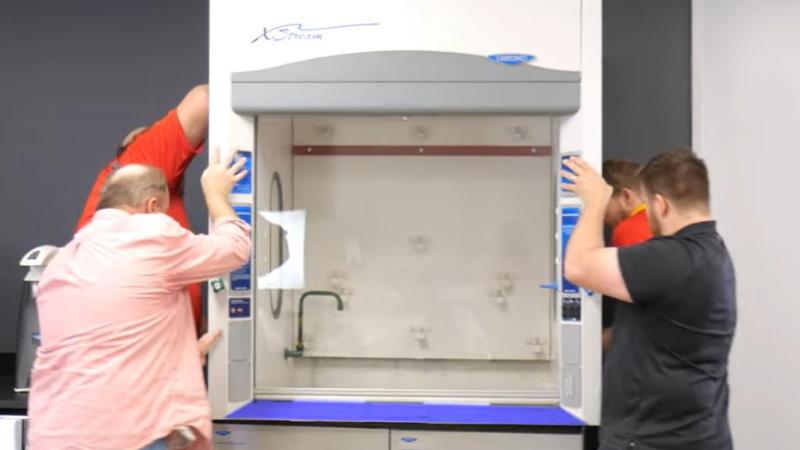
G. Next is installing the fume hood on top of the epoxy countertop. Lift by the side rails and back only to avoid any damage to the hood. Do not lift the hood by its front airfoil highlighted in blue below. Place the hood so the rear angle is flush with the back edge of the worksurface.
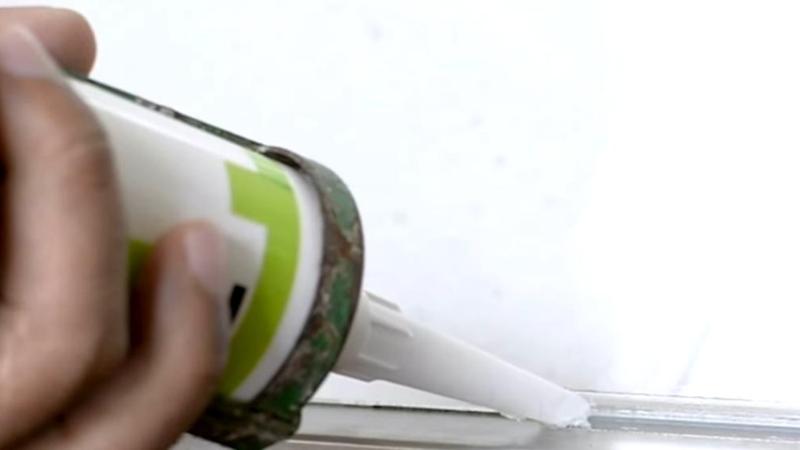
H. The remaining overhang at the front allows for proper airflow. The fume hood should be sealed where the inside liner meets the countertop to prevent spilled materials from collecting between them.
I. Adequate space is provided behind the base cabinet for routing of utilities such as electrical or plumbing connections needed. You can direct the plumbing or service fixtures needed through the openings on either side of the fume hood or countertop.
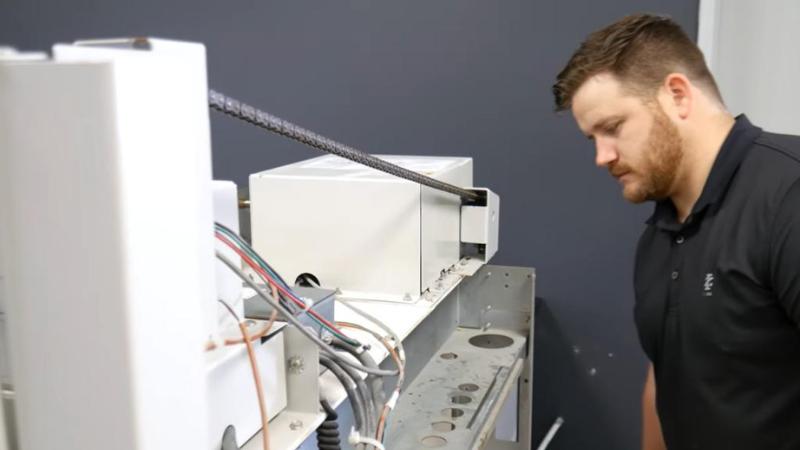
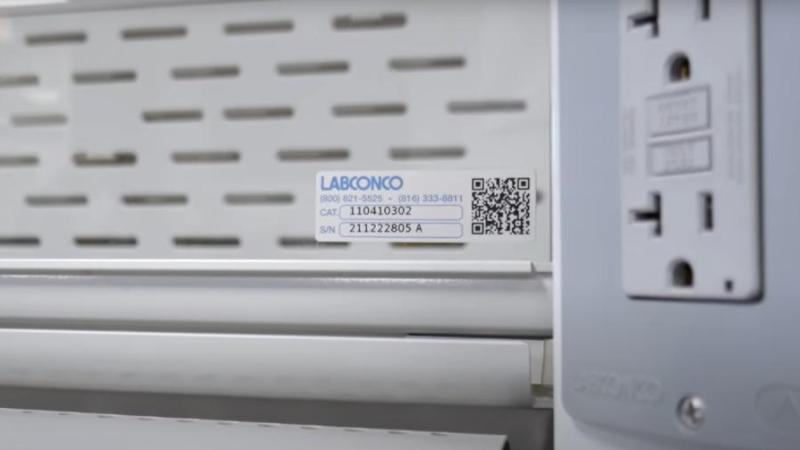
J. Before making any electrical connections to the hood, remove the front top panel and locate the identification plate for electrical specifications. The right hand top of the fume hood is also where you locate the internal junction box to make the electrical connections. An electrician should wire the hood according to local codes
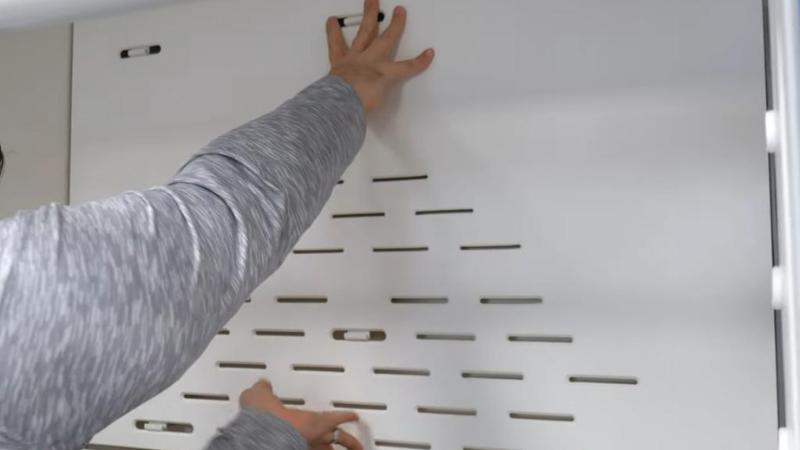
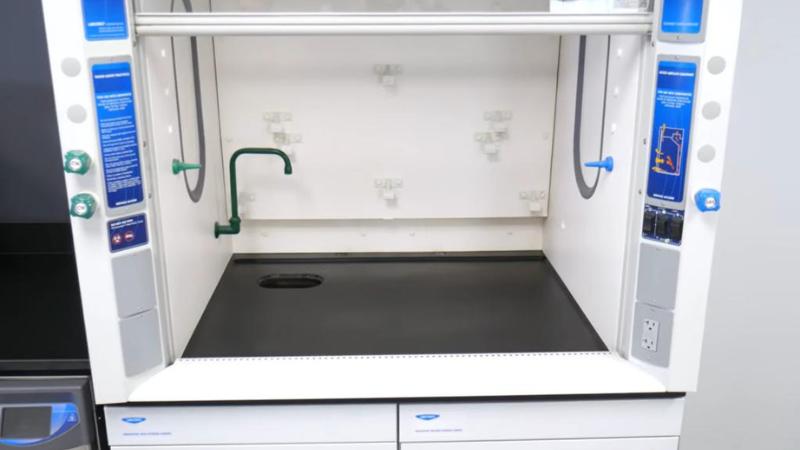
K. Baffle Installation: Depending on the model, install the upper baffle, followed by the bottom, and then finish with the middle baffle. Replace the front panel once the baffles are installed.
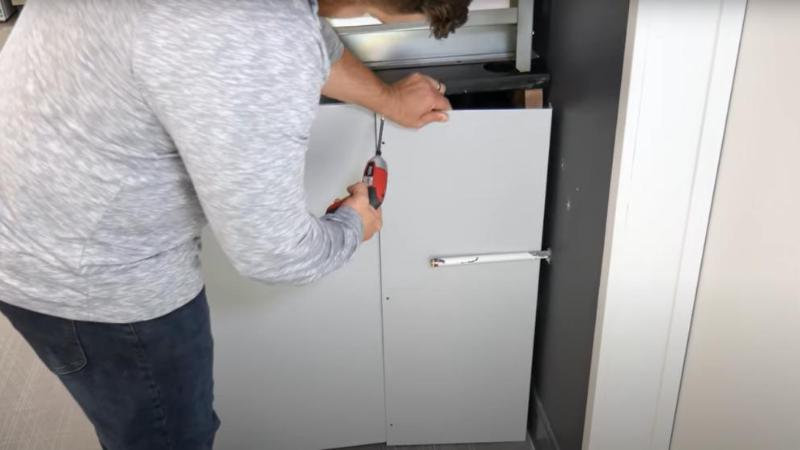
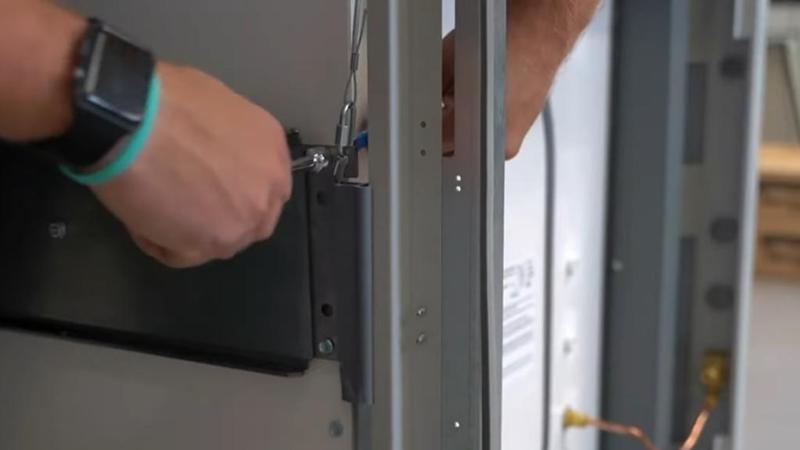
L. Rear Filler Panels: Qty 1 – 8″ filler panel is included with the painted metal cabinets. Place the rear angle flush to the wall and install the three screws
M. Hood Side Panels: Once all electrical and plumbing setups are complete, replace the side panels the system is ready for ductwork installation and final checks.
This guide is intended to provide a foundational understanding for installing Labconco Protector Extreme fume hoods. Following these steps closely will help ensure a safe and efficient setup in your laboratory environment.
Additional Steps to Consider
Electrical Service Fixture Connections
Adding electrical service fixtures to the front posts of fume hoods is an option to provide necessary power outlets for equipment without having cords all throughout your lab.
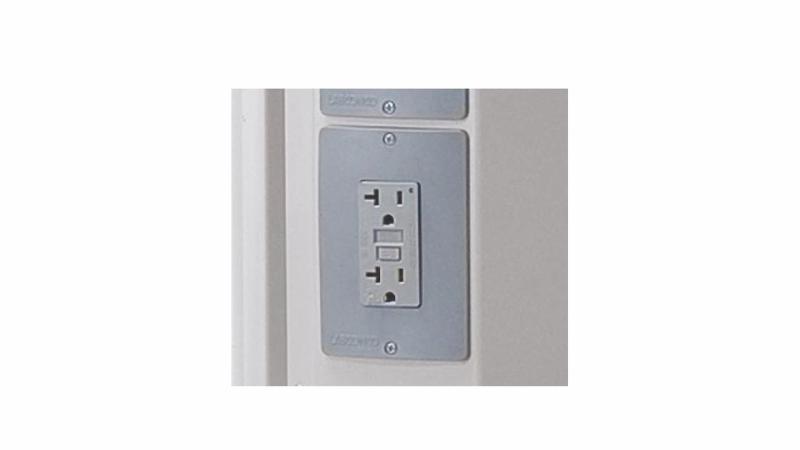
The front right and left posts have “knockout” spaces where these can be added to existing hoods or kits purchased for future installation. Each kits comes with a electrical receptacle, cover plate, wiring and outlet box. GFCI outlets can also be installed in one of the punch out locations. Note: These require hard wiring and unique circuit so an electrician will be needed.
Plumbing Connections
If your fume hood has an epoxy worksurface and cup sink you will need to hook this up to a plumbing drain or container for routing of waste.
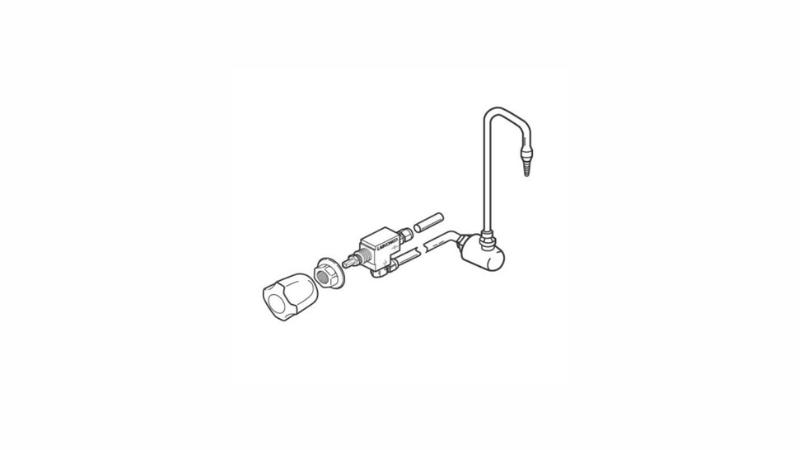
If you have loose plumbing service fixtures included you will need to be connected to the fume hood and plumbed to the punch out location. All internal plumbing will need to be routed to the top of fume hood where the building facilities can be tied into the hood.
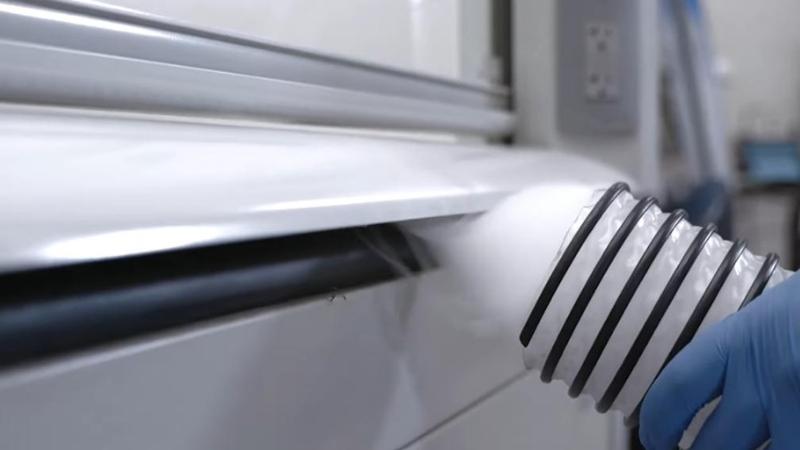
Ductwork and Ventilation
Connection Planning
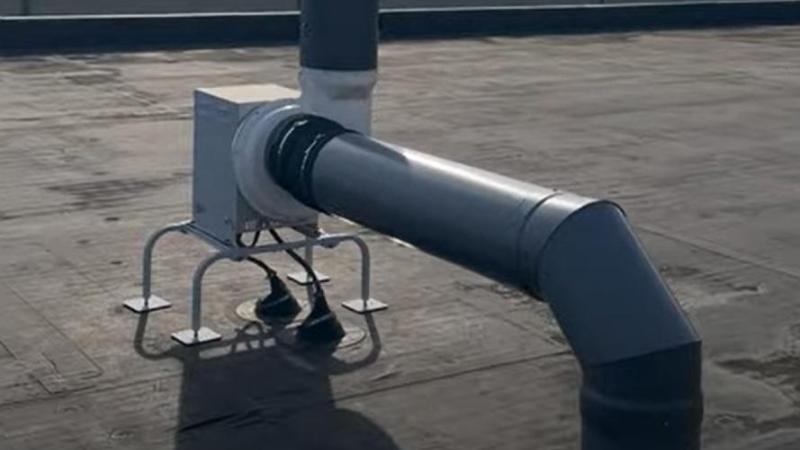
Plan the ductwork connection based on the proximity of the fume hood to the ventilation system. Ensure that the remote blower is sized appropriately based upon the duct run and airflow needed for safe operation of the fume hood.
Sizing the Remote Roof Blower Information Needed
- Diameter of duct
- Duct total length to the roof
- Number of 90°/45° elbows
- Selection of material coated steel, FRP or PVC (Based upon chemicals being exhausted)
Balancing the Airflow
Once the hood is connected, balance the airflow to achieve the required face velocity. Use an anemometer to measure the airspeed at the sash opening and adjust the system as needed to meet safety standards.
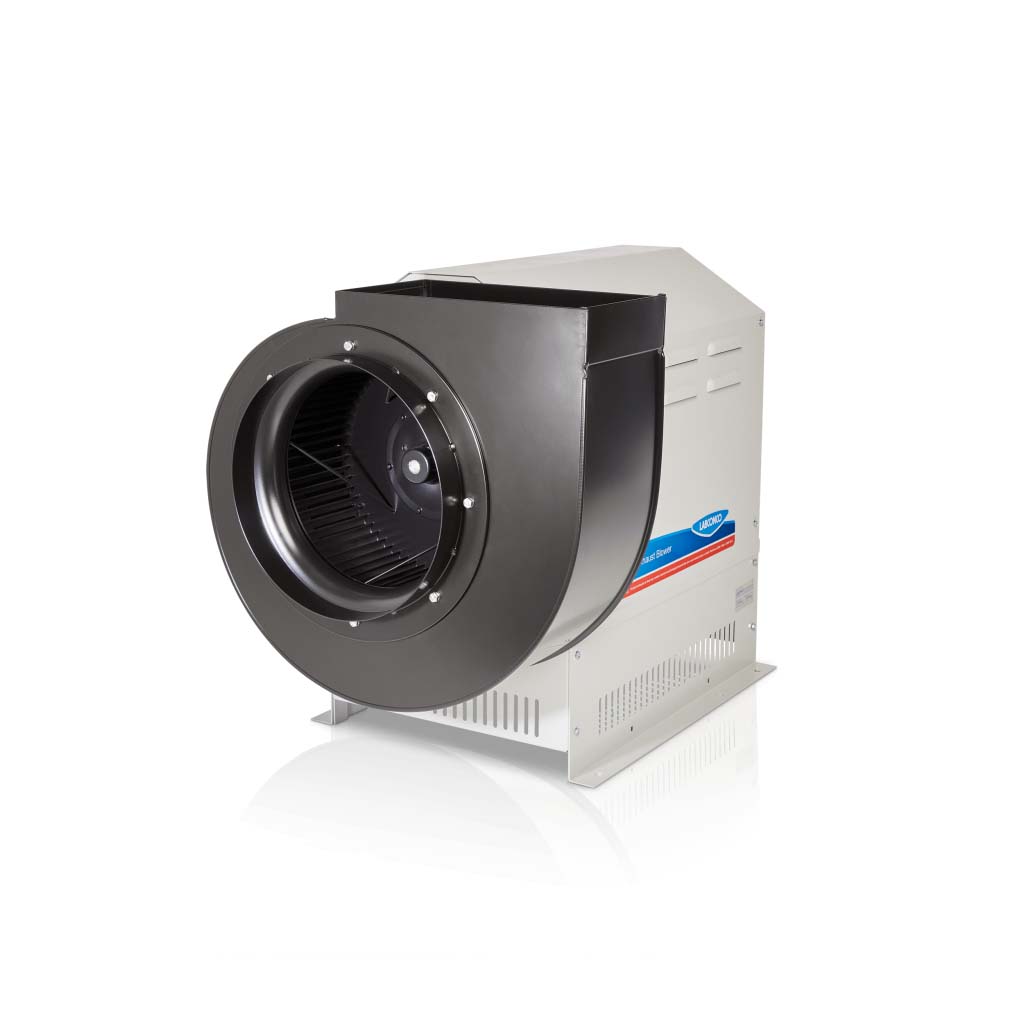
Learn about Spectrum Blowers.
Airflow Monitors
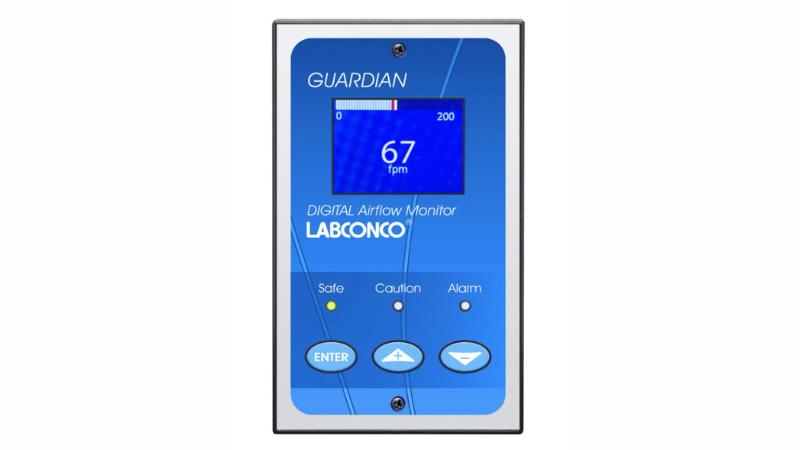
Airflow monitors are recommended for fume hoods as they play a role in ensuring the safety and effectiveness of the contained environment. These monitors provide real-time feedback on the airflow status, alerting users to any deviations from the optimum range. Analog or digital options are available for alerting or reading fpm (feet per minute) values. By constantly monitoring the airflow, they help in maintaining a consistent and safe working condition for lab techs.
Training and Documentation
Operator Training
Provide comprehensive training to all lab personnel who will be using the new fume hood. This should cover proper operation, safety protocols, emergency procedures, and routine maintenance.
Create and Organize Documentation
Keep all installation and operational documentation in a clear, accessible location. This includes user manuals, warranties, service contracts, and any permits or compliance paperwork.
Record Keeping
Maintain detailed records of the fume hood installation process, including any modifications or repairs. This documentation is invaluable for future reference and regulatory compliance.
Certifying a Fume Hood
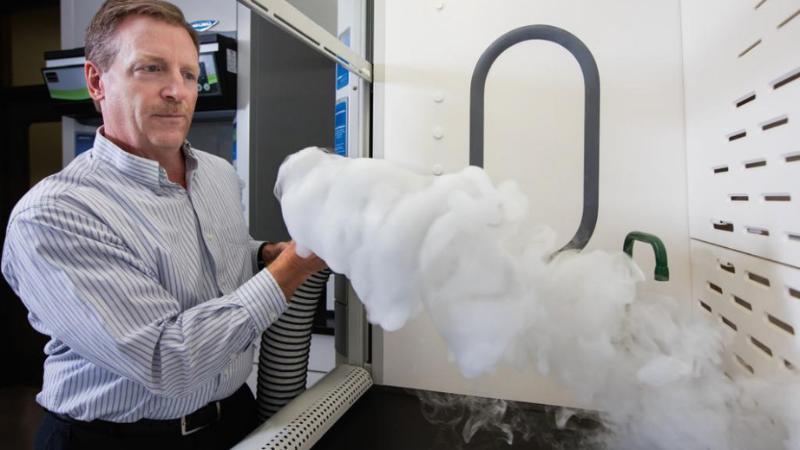
After the installation and ventilation system setup, certifying the fume hood is a critical final step to ensure its safe operation. Certification is typically conducted by a qualified technician who performs a series of tests to verify that the fume hood meets national safety standards, including the American National Standards Institute (ANSI) and the American Society of Heating, Refrigerating and Air-Conditioning Engineers (ASHRAE) standards.
These tests may include face velocity measurements, smoke tests to assess airflow patterns, and checks for leaks or contamination pathways. Once a fume hood passes these assessments, it is certified for use.
Regular recertification is also necessary to maintain compliance with safety regulations and ensure the ongoing protection of laboratory personnel.
Post-Installation Considerations
A successful fume hood installation requires a thorough understanding of the equipment, a disciplined project management approach, and a commitment to safety. After installation, continue to monitor the fume hood’s performance regularly and carry out maintenance as required. Remember that each step in this process is equally important, and proper attention to detail can ensure a safe and efficient laboratory environment.
Installing a laboratory fume hood can be a complex undertaking. If you are unsure about any aspect of the process or need additional guidance, reach out to experienced fume hood installers or the hood’s manufacturer for assistance. It’s better to seek help before you proceed than to risk the safety of your lab and its occupants. With this step-by-step guide, you can be well on your way to a successful fume hood installation that contributes to the effectiveness and safety of your lab’s operations.
As part of maintaining a safe laboratory environment, it is crucial to have a Chemical Hygiene Plan (CHP) in place. This plan outlines procedures, equipment, personal protective equipment, and work practices that are designed to minimize exposure to hazardous chemicals. Consulting with your Environmental Health and Safety (EHS) Officer is essential in ensuring that the CHP is not only tailored to the specific needs of your lab but also complies with all relevant safety standards and regulations. The EHS Officer can provide expert guidance on the proper handling, storage, and disposal of chemicals, as well as ongoing training and support for laboratory personnel.